Address
7111 Westlake Terrace Bethesda
Maryland 20817 United States
Work Hours
Monday to Friday: 7AM - 7PM
Weekend: 10AM - 5PM
Address
7111 Westlake Terrace Bethesda
Maryland 20817 United States
Work Hours
Monday to Friday: 7AM - 7PM
Weekend: 10AM - 5PM

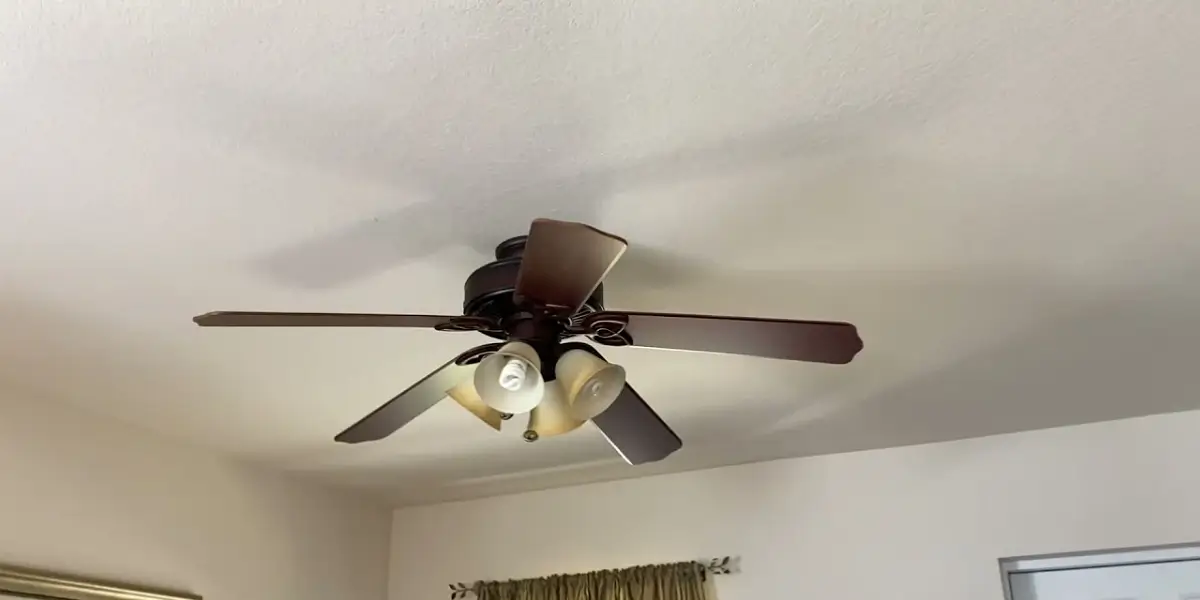
Installing a ceiling fan may seem daunting, but with the proper guidance and some know-how, you can have your Hampton Bay fan up and running in no time. Whether replacing an old fixture or adding a new one to your home, our step-by-step guide will walk you through the installation process easily.
Before you begin, gather your tools and ensure you have a stable ladder or step stool to reach the ceiling safely. It’s also essential to turn off the power to the existing ceiling fixture at the breaker box to avoid any accidents during installation.
Start by removing the existing ceiling fixture, including the mounting bracket and electrical box. If necessary, install a new electrical box rated for ceiling fan support. Ensure that the ceiling is capable of supporting the fan’s weight and that there is enough clearance around the blades for proper airflow.
Next, unpack your Hampton Bay ceiling fan and lay out all the parts. Follow the instructions to assemble the fan, including attaching the blades to the motor housing and installing additional features such as light kits or remote controls.
With the help of a friend or family member, lift the fan assembly onto the mounting bracket. Secure the fan to the bracket using the provided screws, making sure it is level and stable.
Carefully follow the wiring instructions included with your Hampton Bay fan to connect the wires from the fan to the corresponding wires in the ceiling. Typically, this involves connecting the black wire from the fan to the black or red wire in the ceiling, the white wire to the white wire, and the green or bare wire to the grounding wire.
Once the wiring is complete, attach the fan blades to the motor housing using the provided screws or clips. Double-check that all connections are secure, then turn the power back on at the breaker box. Test the fan and light (if applicable) to ensure everything functions correctly.
Congratulations! You’ve successfully installed your Hampton Bay ceiling fan and are ready to enjoy the comfort and style it brings to your home. If you encounter any difficulties during installation, don’t hesitate to consult the included instructions or reach out to our customer support team for assistance. Happy cooling!