Installing a ceiling fan may seem daunting, but with the proper guidance, you can do it yourself. Follow these step-by-step instructions to install your Hampton Bay ceiling fan safely and efficiently.
Tools and Materials Needed
- Screwdriver
- Pliers
- Wire stripper
- Ladder
- Circuit tester
- Ceiling fan kit
Step 1: Turn Off the Power
- Switch off the power at the circuit breaker to ensure safety.
Step 2: Prepare the Ceiling
- Remove the existing light fixture and check the ceiling box to ensure it’s fan-rated.
Step 3: Assemble the Fan
- Follow the manufacturer’s instructions to assemble the fan. Attach the downrod, motor, and blades.
Step 4: Install the Mounting Bracket
- Secure the mounting bracket to the ceiling box using screws and a screwdriver.
Step 5: Connect the Wiring
- Match the wires from the ceiling fan to the wires in the ceiling box (black to black, white to white, green to ground). Secure the connections with wire connectors.
Step 6: Attach the Fan to the Bracket
- Lift the fan motor assembly and attach it to the mounting bracket. Ensure it’s securely fastened.
Step 7: Install the Blades
- Attach the fan blades to the motor using the screws provided. Ensure they are evenly spaced and securely tightened.
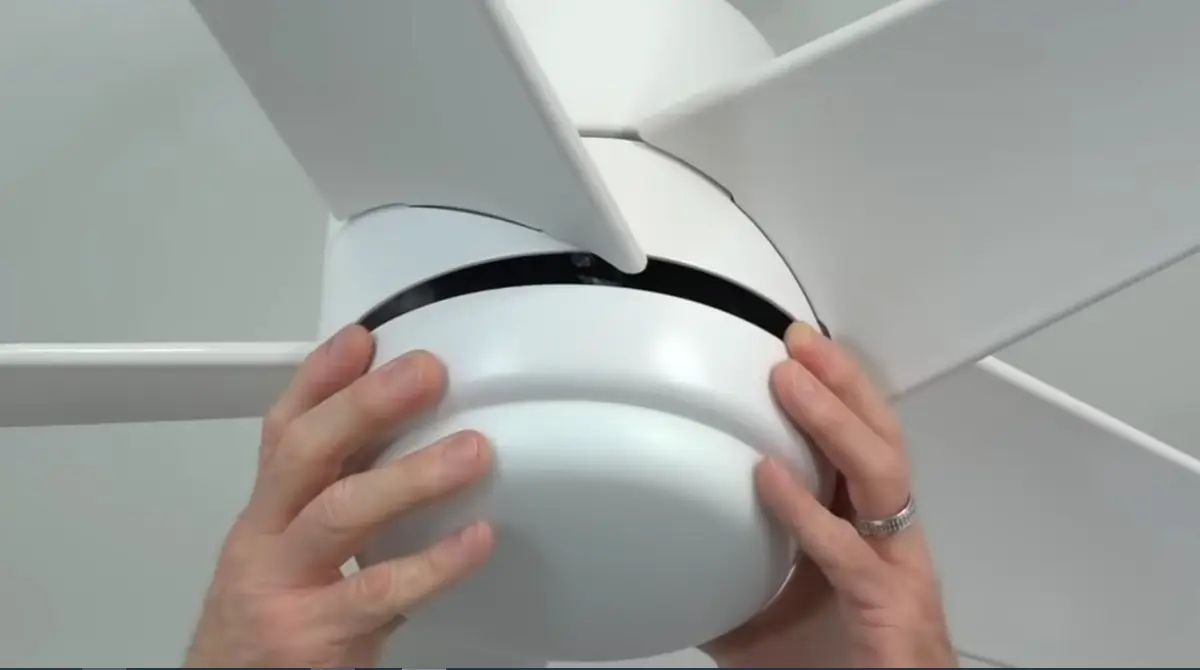
Step 8: Attach the Light Kit (if applicable)
- Follow the instructions to attach the light kit to the fan. Connect the wiring as per the manual.
Step 9: Test the Fan
- Restore power at the circuit breaker and use the pull chain or remote control to test the fan. Ensure it operates smoothly and without wobble.
Installing a Hampton Bay ceiling fan can be straightforward if you follow these steps. Always refer to the user manual for specific instructions related to your model.
